Page 14 - Default
-
- September 13, 2007
Welcome to the Camera-Warehouse exposure tutorial (see Tech Tip: Exposure). At each stage of the tutorial, please remember to save the photos you take to send to your tutor for evaluation and discussion.
Before you start, in order to minimise the size of emails when sending your images for assessment, please set the resolution of your camera's images to no more than 3 megapixels, or reduce the images to this size prior to sending (this should be sufficient for evaluation purposes). Thank you.
What you'll need:
-
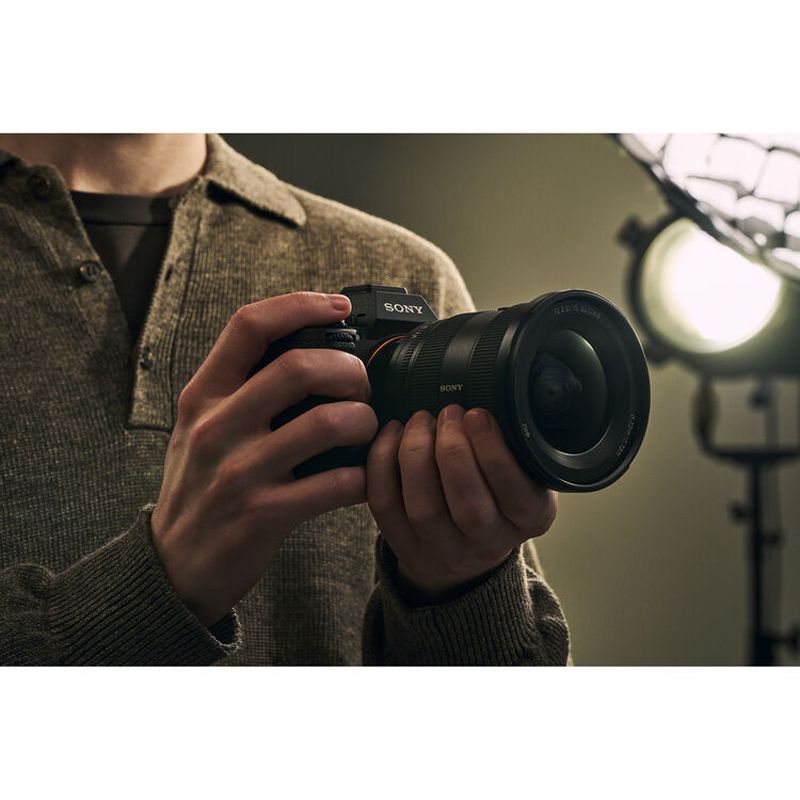
digital compact or SLR camera and lens with exposure compensation adjustment
-
tripod if available
-
willing subjects (these needn't be people - try an orange, lemon and lime on a dark table for great colour contrast and texture)
-
about 40 minutes
1. ARTISTIC EFFECT OF VARYING EXPOSURE
a) Take a picture with your camera set to use automatic settings. This will be the 'control'. Adjust the exposure compensation on the camera to first overexpose (try +0.7EV and +2EV) and then underexpose
-
-
- September 13, 2007
Many of our tech tip and photo tip articles have an accompanying tutorial (represented by this icon
This service will soon be available to Camera-Warehouse customers with pricing ranging from $49 for a single tutorial to $249 for 10 tutorials. This includes the tutorial itself (each of approximately 45 minutes duration), assessment by a tutor and email access to the tutor to discuss related aspects of photography.
If you'd like more information, or you'd like to request a tutorial on a particular subject, please send us an email.
-
- September 12, 2007
This is one in a series of 'Photo Tip' articles that attempts to provide some basic instruction in the artistic side of photography. Most of these articles could collectively fall under the heading 'composition'.
SUBJECT PLACEMENT
Simply placing the subject or centre of interest of a photograph in a different position within the shot can make a striking difference to the overall effect. There are two recognized principles for subject placement in photography: the 'rule of thirds' and 'dynamic symmetry'.THE RULE OF THIRDS
The 'rule of thirds' is a basic compositional guideline for placing your subject within the frame. Imagine your frame divided into thirds both horizontally and veritcally. The rule recommends placing your subject on one of the four points where these lines intersect.The rule also works for horizons or obvious horizontal lines in your photograph. It is better (if possible) to place these a third or two thirds from the bottom than across the centre, or at any other
-
- September 12, 2007
This is one in a series of 'Photo Tip' articles that attempts to provide some basic instruction in the artistic side of photography. Most of these articles could collectively fall under the heading 'photographic composition'.
BALANCE
For a photograph to be naturally pleasing to the eye it requires a balanced used of colour, shapes, tone and shade. All objects in the frame have a compositional 'weight', created by their size, colour and position, and balancing these within the photograph will create a better image.The simplest way to imagine this is that each object hangs from a set of scales centred around the middle of the image. Showing two identical objects at equal distances from an imaginary verticle line down the centre of the image is the most obvious form of balance, as shown in the first image below:
Change the colours slightly, as shown in the second image, and the balance of the photograph shifts, in this case to the left. This kind of balance is referred to as
-
- September 12, 2007Wow...what more can I say? I was lucky enough to attend the Nikon product launch last night where I got to play with all the latest Nikon COOLPIX range (very nice) and...drum roll please...the new Nikon D300 and D3 digital SLRs.
The launch was held at the Museum of Contemporary Art (MCA) in Sydney's Circular Quay. The SLRs were mounted on tripods on the terrace and pointed towards the harbour bridge and opera house. A perfect setting for testing out new cameras.
However, attached to the cameras were some pretty hefty lenses (600mm f/4 VR on the D3, from memory), and I'd challenge any camera not to look great under those circumstances, and of course, it did look fantastic.
Unfortunately, because the terrace was obviously dark, the cameras were mounted in tripods, and there were 150 other people trying to play, it was difficult to get a really good look at the cameras, but we saw enough to be convinced that these two models will do nothing to harm Nikon's reputation for excellence.
No pricing
-
- September 12, 2007
This is one in a series of 'Photo Tip' articles that attempts to provide some basic instruction in the artistic side of photography. Most of these articles could collectively fall under the heading 'photographic composition'.
SIMPLICITY
Simplicity is often regarded as the most important of all photographic skills. The key to achieving simplicity is to remove all unnecessary distractions from an image through positioning yourself to take the photograph from the best angle, and positioning the subject in the most effective area of the shot (see Photo Tip: Subject placement).Backgrounds should be exactly that - an uncomplicated background to your shot, not a subject of interest in itself; and any foreground object should be sufficiently out-of-focus so as not to cause a distraction or block the subject in any way. Remember to use depth of field (see Tech Tip: Depth of field) to draw attention to your subject.
The ultimate key to simplicity it to tell just one story. Ensure the subject
-
- September 11, 2007
This is one in a series of 'Tech Tip' articles intended as a guide to digital camera technology and terminology. Its aim is to demystify some of the language used on this site to allow you to make more informed decisions when considering purchasing a new digital camera.
DEPTH OF FIELD
The term 'depth of field' refers to the range of an image that is acceptably in focus.The image above depicts a broad or wide depth of field. The zone of acceptable focus spans a broad range of distances from the camera lens. In reality, perfect focus is achieved at a specific distance from the lens, but any object within the zone is sufficiently in focus to be considered acceptable. A broad depth of field is achieved (or caused) by reducing the aperture (see Tech Tip: Aperture).
This second image depicts a narrow or shallow depth of field. The image contents are the same and each object is the same distance from the camera, but only the centre circle is in focus. This is achieved (or caused) by increasing
-
- September 11, 2007
This is one in a series of 'Tech Tip' articles intended as a guide to digital camera technology and terminology. Its aim is to demystify some of the language used on this site to allow you to make more informed decisions when considering purchasing a new digital camera.
EXPOSURE
In digital photography, exposure is the relationship between the amount of light and the duration of time that the sensor has to form an image. There is an optimum exposure level; too much time or light and an image will be 'overexposed'; too little of either and it will be 'underexposed'.The three main components of exposure in photography are lens aperture (see Tech Tip: Aperture), ISO level (see Tech Tip: ISO) and shutter speed. Increasing aperture allows more light to enter and less time is required (faster shutter speed) to form the image, and vice versa. Adjusting the ISO level (sensitivity) of the sensor also affects the amount of light required to form the image, allowing faster shutter speeds,
-
- September 11, 2007
This is one in a series of 'Tech Tip' articles intended as a guide to digital camera technology and terminology. Its aim is to demystify some of the language used on this site to allow you to make more informed decisions when considering purchasing a new digital camera.
FOCAL LENGTH AND OPTICAL ZOOM
After megapixels, the second most talked about feature of compact digital cameras in particular is the zoom. Two types of 'zoom' are available in digital photography: optical zoom and digital zoom. All references to zoom within this article refer to optical zoom (see Tech Tip: Digital zoom and cropping).Optical zoom is a measure of the ratio of the minimum and maximum focal lengths of a lens. E.g. a lens with focal range 50mm to 150mm has an optical zoom of 3x; a lens with focal range 75mm to 300mm has an optical zoom of 4x; and so on.
The image below shows two objects in frame with a short focal length used:
This shows the subject (blue arrow) on the left, the lens in the middle and the
-
- September 11, 2007
This is one in a series of 'Tech Tip' articles intended as a guide to digital camera technology and terminology. Its aim is to demystify some of the language used on this site to allow you to make more informed decisions when considering purchasing a new digital camera.
DIGITAL ZOOM AND CROPPING
When the optical limits of a lens are reached (you're zoomed right out), in order to increase the subject size further it is necessary to enlarge the print size, creating a physically larger representation of the subject, or crop the image, which increases the relative size of the subject to the print area.Increasing the print size will rarely be practical or desired so cropping the image is the most likely option to be used, however, both options have drawbacks as they are equivalent to 'zooming in' on the sensor and this is how digital zooming works. I.e. by increasing the size of the subject in this way you're also increasing the size of each sensor photosite (see Tech Tip: Sensors) that